Quick APIs with Airtable: Simplify Data Integration
Published on August 13, 2023
Explore the power of Quick APIs with Airtable integration on CodelessAPI.io. This guide will walk you through the seamless process of connecting and managing your Airtable bases using Quick APIs, enabling you to automate data management effortlessly.
Seamless Airtable Integration
Quick APIs redefine data integration by offering a seamless link between your Airtable bases and external applications. Whether you're tracking inventory, managing projects, or handling customer data, Quick APIs provide a codeless solution to streamline data management.
Getting Started
Follow these straightforward steps to set up Quick APIs with your Airtable bases:
- Sign Up: If you're new to CodelessAPI.io, create an account. It's a quick process. Register here to begin.
- Access Quick APIs: After logging in, navigate to your dashboard and click on the "Quick APIs" section.
- Create a New API: Start by clicking the "+ Create new API" button.
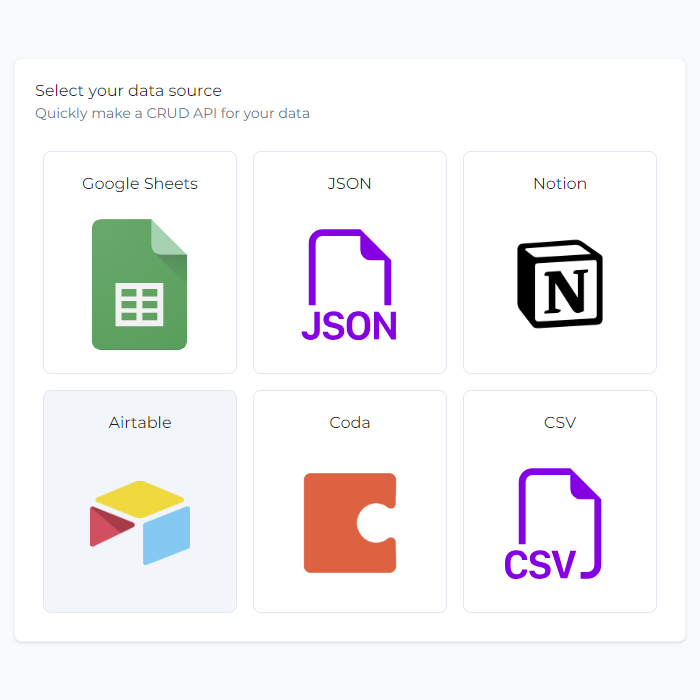
- Select Airtable Data Source: Choose Airtable as your data source from the available options.
- Link Your Airtable Account: Click on "New Airtable account" to link your Airtable account and follow the prompts to authorize CodelessAPI to access your Airtable account.
- Select Airtable Base: Once your Airtable account is successfully linked, choose the specific Airtable base you want to integrate.
- Configure API Settings: Provide a name and description for your Quick API to help identify and manage it efficiently.
- Create Your Quick API: Finalize the setup by clicking the "Create" button. Your Quick API will be generated, complete with endpoints for seamless data interaction.
Automate Data Management
Quick APIs enable you to automate various data management processes within your Airtable bases:
- Inventory Updates: Seamlessly update and manage inventory data using CRUD operations provided by Quick APIs.
- Project Management: Integrate Airtable bases with your project management tools for streamlined collaboration.
- Customer Insights: Enable real-time analysis by connecting Airtable data with analytical platforms.
Supported Operations
Quick APIs provide a comprehensive set of operations for Airtable integration:
- GET Calls: Retrieve data from Airtable bases using GET requests to the generated API endpoints.
- POST Calls: Insert data into Airtable bases with POST requests, simplifying data entry.
- DELETE Calls: Delete records from Airtable bases using DELETE requests, facilitating data cleanup.
- PUT/PATCH Calls: Update data in Airtable bases with PUT or PATCH requests, ensuring accurate data maintenance.
Examples: CRUD Operations with Airtable
Let's dive into a practical example to showcase the power of Quick APIs with Airtable integration. In this example, we'll work with an Airtable base containing products that need to be managed and updated.
Imagine you have an Airtable table named "Products" with records similar to the following:
[
  {
    "product_id": 1,
    "product_name": "iPhone 12",
    "description": "The latest and greatest iPhone",
    "price": 999
  },
  {
    "product_id": 2,
    "product_name": "Samsung Galaxy S21",
    "description": "A powerful Android phone",
    "price": 799
  },
  {
    "product_id": 3,
    "product_name": "Macbook Pro",
    "description": "A high-performance laptop",
    "price": 1299
  },
  {
    "product_id": 4,
    "product_name": "Microsoft Surface Laptop 4",
    "description": "A sleek and stylish laptop",
    "price": 999
  },
  {
    "product_id": 5,
    "product_name": "Sony PlayStation 5",
    "description": "The ultimate gaming console",
    "price": 499
  }
]
Let's walk through how to interact with this data using Quick APIs:
Step 1: Retrieve Data with GET Request
Start by using a GET request to retrieve data from the "Product" table. Send a GET request to the appropriate Quick API endpoint, and you'll receive a JSON response containing the product data.
You can also filter data by using query parameters in the URL.
GET <YOUR_URL>?price>=999&id>2
Step 2: Add New Products with POST Request
To add new products, make a POST request to the Quick API endpoint with the payload for the new products. This will insert the new product record into the "Products" table.
[
  {
    "product_id": 6,
    "product_name": "Google Pixel 6",
    "description": "A cutting-edge Android smartphone",
    "price": 799
  },
  {
    "product_id": 7,
    "product_name": "Dell XPS 13",
    "description": "An ultra-portable laptop with stunning display",
    "price": 1199
  }
]
Step 3: Update Product description with PATCH Request
To update the description of a product, you can use a PATCH request with the appropriate payload containing the updated description. This will modify the product's description in the Products table.
PATCH <YOUR_URL>?product_id=2
Content-Type: application/json
body: {
  "description": "No longer available"
}
Step 4: Remove Product with DELETE Request
When a product is no longer available, you can remove it using a DELETE request. Send a DELETE request to the Quick API endpoint along with the product's unique identifier, and the product will be deleted from the "Product" table.
DELETE <YOUR_URL>?description=No longer available
Implementation Examples
For detailed code examples and implementation details, refer to our previous blog post on Introducing Quick APIs where we explore coding-free integration scenarios.
Streamline Your Data Integration
Quick APIs with Airtable offer an innovative approach to data integration. Whether you're a business analyst, developer, or project manager, Quick APIs empower you to achieve seamless data connectivity without the need for complex coding.
Start your Quick APIs journey today and witness the transformation of your data management practices. If you have any questions or feedback, reach out to us at hello@codelessapi.io. We're dedicated to enhancing your data integration experience.