Setting Up 2-Way Sync Between Notion and Coda
Published on August 30, 2023
Getting Started with 2-Way Sync
In this guide, we'll walk you through the process of setting up a 2-way sync between Notion and Coda using CodelessAPI's beta 2-way sync module. This powerful feature allows you to synchronize data changes bidirectionally, ensuring both platforms are always up-to-date.
Step 1: Sign Up and Create a New API
- Create a CodelessAPI account: If you don't have an account, sign up for a free CodelessAPI account by visiting the sign-up page and completing the registration process.
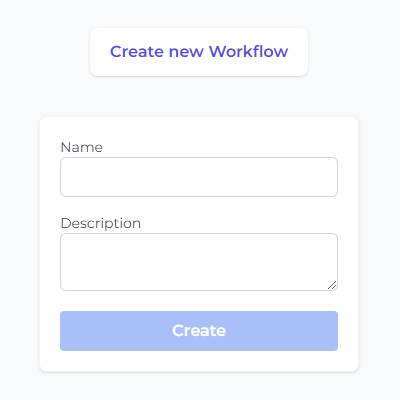
- Generate a new API: After logging in, go to the "Workflows" section on your dashboard and click the "Create new Workflow" button (This will create a new Workflow that you can trigger by calling an API). Provide a meaningful name and description for your API. Once created, you'll be directed to the API builder interface.
Step 2: Connect and Configure Notion
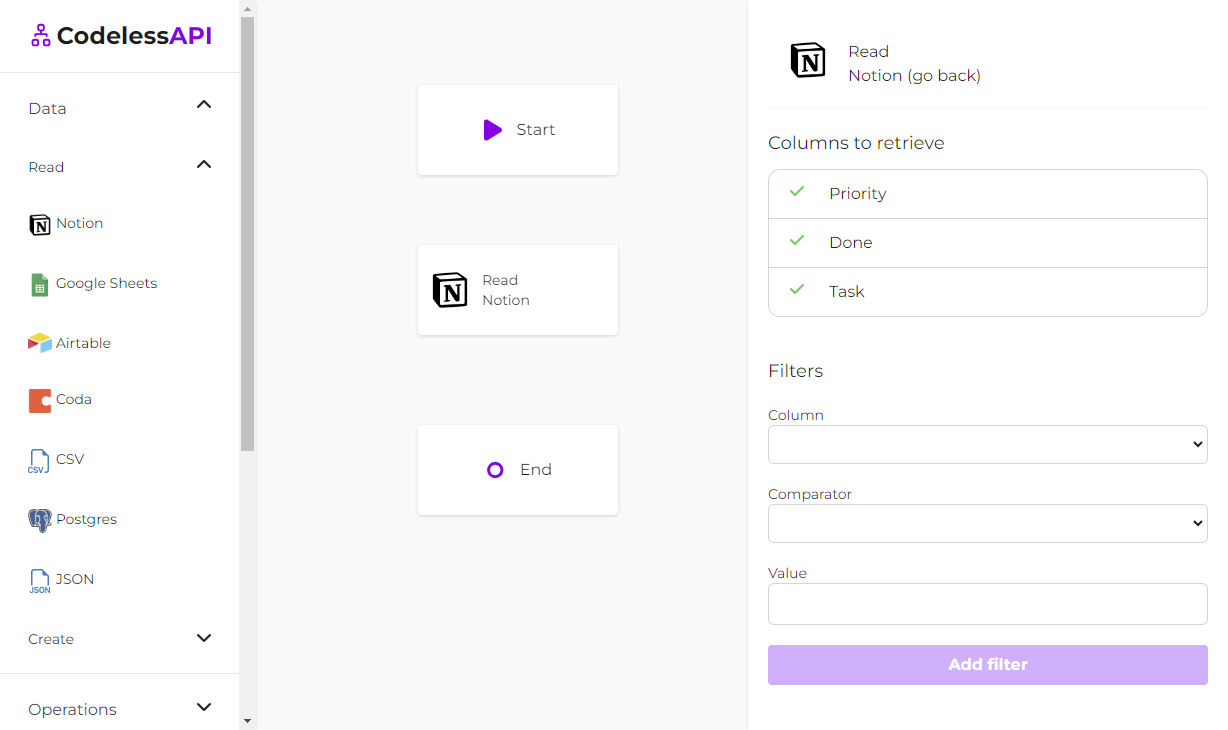
- Select Notion as the data source: Access the "Data" section in the left sidebar of the API builder. Expand the "Read" options and choose "Notion" as one of the data sources for your synchronization process.
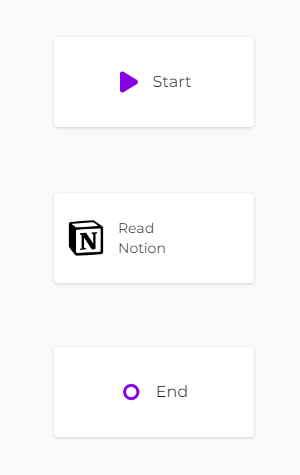
- Add the Notion module to the canvas: Drag and drop the "Notion" module onto the canvas. This module will be the starting point for reading data from your Notion source.
- Authorize CodelessAPI with Notion: Click on the Notion module within the canvas and select "Configure". This will open up a configuraiton panel on the right. Select the "Add Notion Account" button. This will open a new window where you can choose which Notion databases you want CodelessAPI to access. Follow the prompts to authorize the relevant databases.
- Select the database and properties: After authorization, return to the builder page. Click on the Notion module and choose "Configure". Select the specific Notion account and database you want to sync data from. Choose the properties you wish to include in the synchronization process.
Step 3: Connect and Configure Coda
- Select Coda as the data source: Access the "Data" section in the left sidebar of the API builder. Expand the "Read" options and choose "Coda" as one of the data sources for your synchronization process.
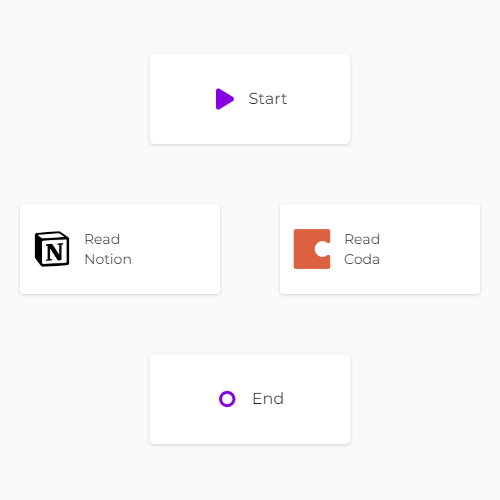
- Add the Coda module to the canvas: Drag and drop the "Coda" module onto the canvas. This module serves as the starting point for reading data from your Coda source.
- Authorize CodelessAPI.io with Coda: Click on the Coda module on the canvas and select "Configure" from the options. In the configuration panel, click on the "New Coda Account" button and paste your Coda API token. Optionally, provide a name and description for the account. For integration steps on how to obtain your Coda token, please refer to the guide on how to query Coda.
- Select the Coda table: After authorization, pick the specific Coda table from your workspace that you intend to sync data from. Choose the columns you want to include in the synchronization process.

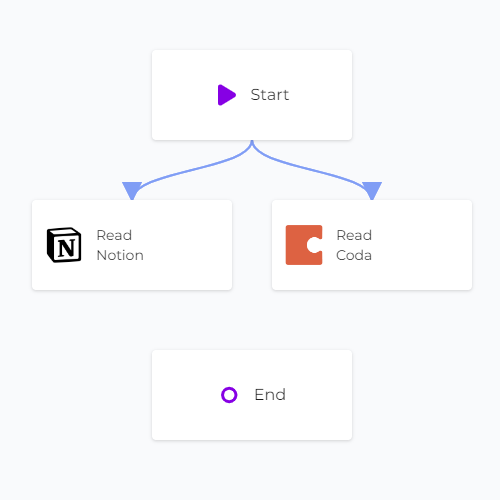
Step 4: Link the Modules
Establish the data flow from the "Start" module to "Notion" and "Coda" by linking the modules together. You can do this by clicking the "Start" module and then clicking link. Then clicking the "Coda" module. Repeat this process from the "Start" module to the "Notion" module.
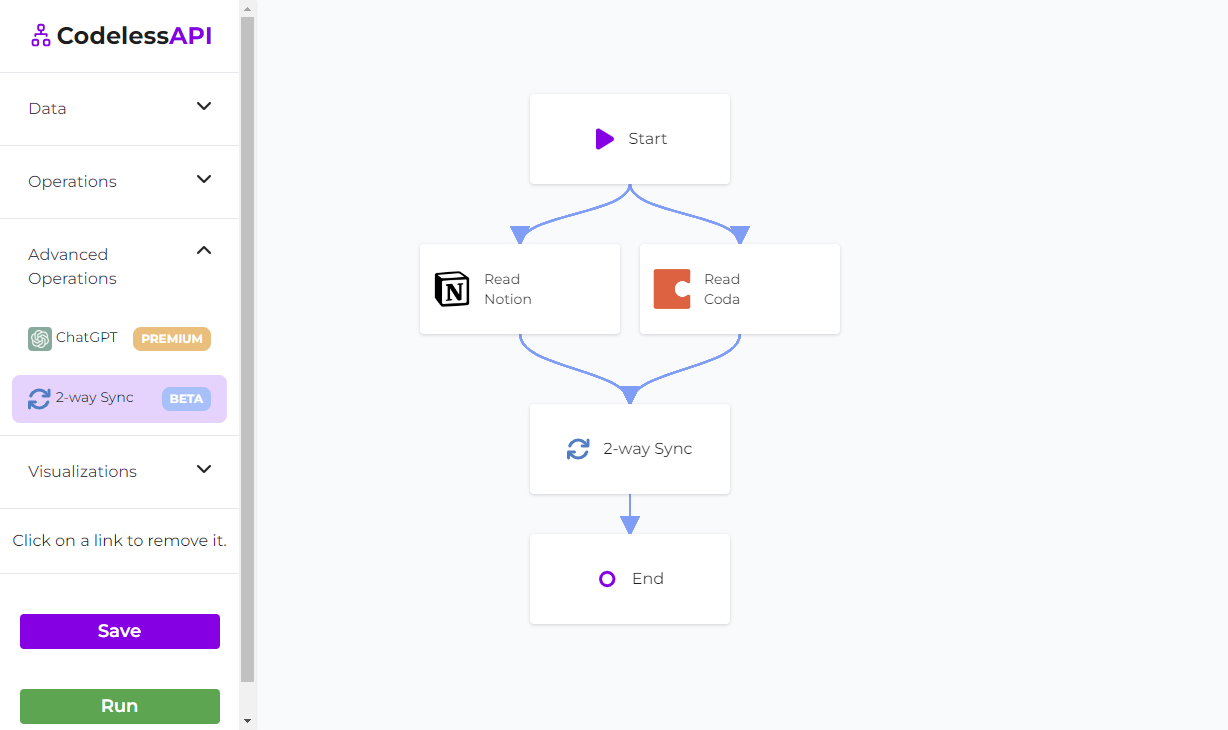
Step 5: Connect and Configure 2-Way Sync
- Select 2-way Sync module: Access the "Operations" section in the left sidebar. Click to drag and drop the "2-way Sync" module onto the canvas.
- Link the modules together: Connect the Read modules for Coda and Notion to the 2-way Sync module by clicking the modules and clicking the Link option, then connecting them to the 2-way Sync module. Finally link the "2-way Sync" module to the "End" module.
- Configure the 2-way Sync Module: Click on the "2-way Sync" module on the canvas and select "Configure" from the options. Ensure that the mapping between columns is set up correctly to facilitate data synchronization.
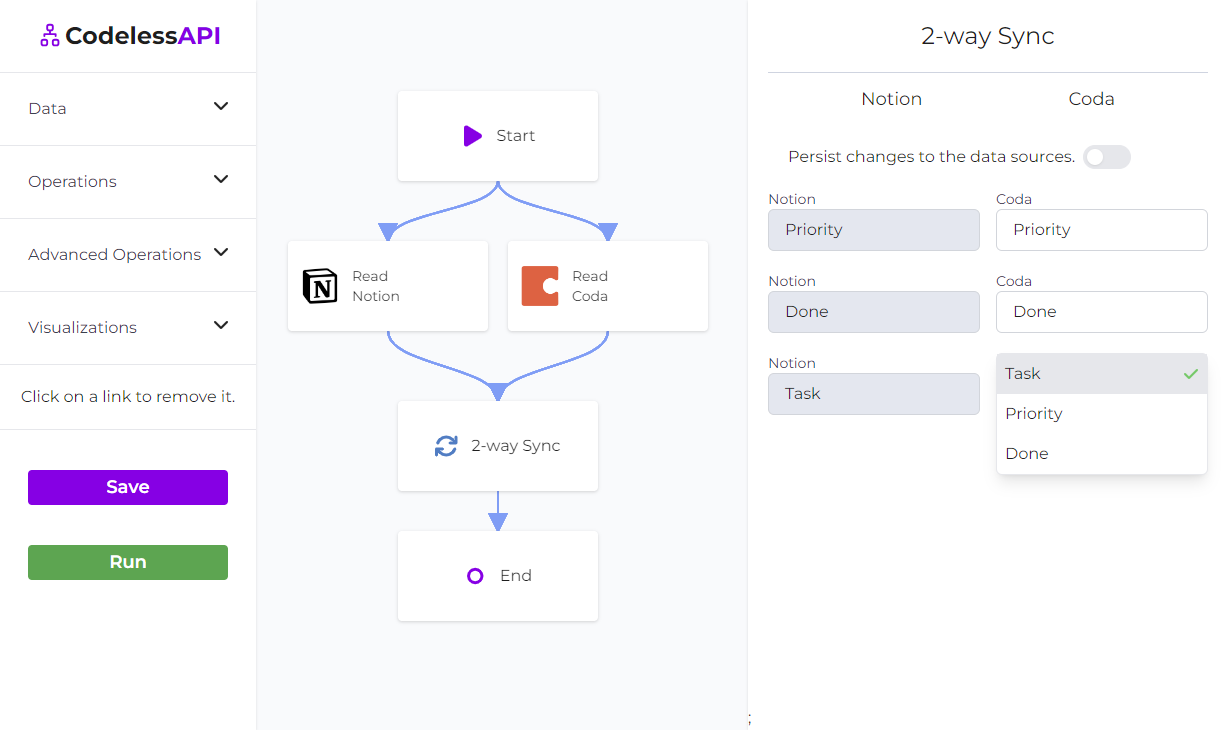
- Toggle and test: Toggle the "Persist changes to the data sources" option off and run the workflow by clicking the "Run" button on the left-hand sidebar. With the persist toggle off, it will display the merged results without inserting it into the database.
Step 9: Finalize and Recommendations
If you're satisfied with the results displayed, you can toggle the "Persist changes to the data sources" option on, and then click the "Run" button. Since the 2-way Sync feature is in Beta, it's recommended to make a copy of your Coda and Notion tables before proceeding.
Congratulations! You've successfully set up a 2-way sync between Notion and Coda using CodelessAPI's innovative feature. This capability will enhance your data management workflow by ensuring seamless data synchronization between the two platforms.
As a precaution due to the Beta nature of the feature, it's advisable to create copies of your tables before running the synchronization to avoid any unintended changes to your original data. If you have any questions or need assistance, feel free to reach out to us at hello@codelessapi.io. We're here to support you in making the most of this advanced feature.
Start experiencing the benefits of bidirectional data synchronization today with CodelessAPI's 2-way sync module. Your data workflows will never be the same again!
Conclusion
CodelessAPI's 2-way sync module empowers you to effortlessly keep your Notion and Coda data synchronized bidirectionally. This guide has walked you through the process of setting up this feature, from configuring modules to testing and finalizing your synchronization.
Streamline your data management workflow and ensure that changes made on one platform are automatically reflected on the other. Take advantage of this innovative feature to unlock new possibilities in how you manage and use your data.
If you have any questions, feedback, or need further assistance, don't hesitate to reach out to us at hello@codelessapi.io. Our team is here to help you make the most of CodelessAPI and its advanced synchronization capabilities.